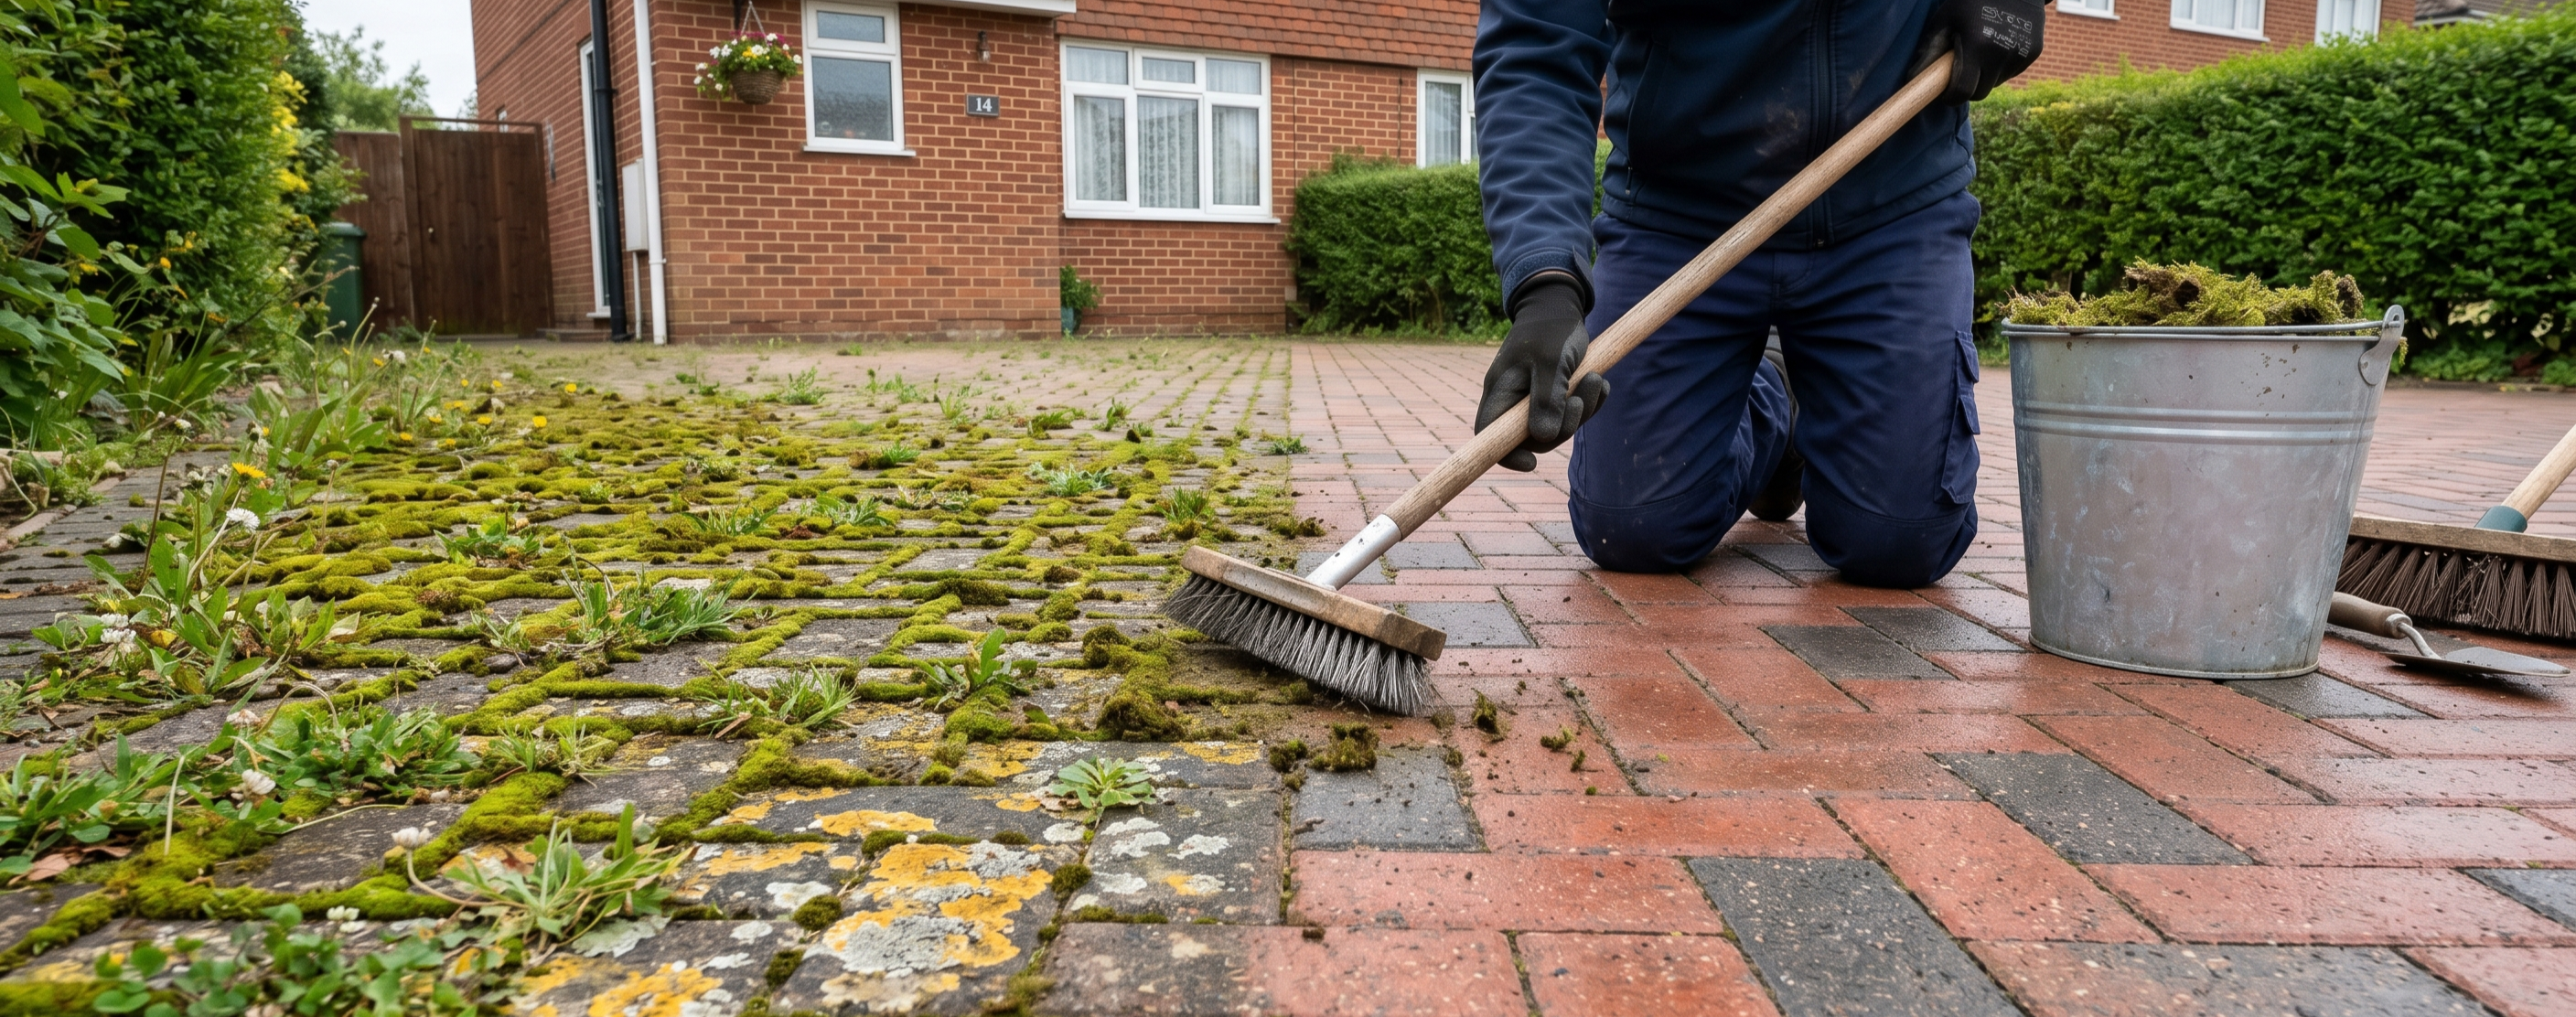
Block paving is the most popular driveway choice in the UK, but it has a major design flaw: Joints.
Those thousands of gaps between the bricks are the perfect nursery for weeds, moss, and the dreaded "black spot" lichen. Every spring, homeowners drag out the pressure washer and blast the driveway until it looks clean. But within three weeks, the weeds are back, and the blocks are sinking because the sand has been washed away.
Here is the professional 4-step process to kill the growth, clean the stone, and stop it coming back.
Most Common Problems
1. Moss and Weeds
These grow in the damp sand joints. They are easy to kill but hard to keep away. If you just chop the heads off with a jet wash, the roots stay deep in the sand and regrow immediately.
2. Black Spot Lichen
This is not dirt. If you see black ink-like spots on your paving that a pressure washer won't shift, that is Black Spot Lichen. It is a fungus/algae hybrid that sends "hyphae" (roots) deep into the pores of the concrete. You cannot wash it off; you have to bleach it out.
Killing the Weeds
Don't wash a living weed. You are just watering it.
-
For Weeds/Moss: Apply a strong Fungicidal Wash or a weed killer containing glyphosate a week before you plan to clean. Let it die down to the roots.
-
For Black Spot: You need a heavy-duty Sodium Hypochlorite Patio Cleaner. This is an industrial-strength chlorine-based cleaner.
-
Method: Apply it neat (or diluted 1:1 for lighter stains)*. Keep it wet for 30–60 minutes. You will literally watch the black spots turn white and disappear as the chemical kills the organism deep in the stone.
*Always follow the instructions on the pack for your product.
The Controlled Wash
Now that the biology is dead, you can wash the dirt away. The Golden Rule: Do not aim the lance straight down.
If you blast the joints directly, you will blow the sub-base sand out. This causes the blocks to wobble and sink, leading to puddles (which leads to more moss).
-
Technique: Hold the lance at a 30-degree angle. You want to wash the surface of the block, not excavate the joint. A flat surface cleaner attachment is much safer for block paving than a turbo nozzle.
Re-Sanding the Joints
You will inevitably lose some sand during cleaning. You must replace it. If you leave the joints open, the blocks will move, and weed seeds will fall straight into the gaps.
-
Wait: The floor must be bone dry.
-
Sweep: Brush Kiln Dried Sand diagonally across the joints until they are full.
-
Compact: Ideally, run a wacker plate (with a rubber mat) over the drive to vibrate the sand deep into the gaps.
Sealing
This is the step 90% of homeowners skip, and it’s why they have to clean again next year. Once the joints are full of fresh sand, you should apply a Block Paving Sealer.
-
Sand Hardening: The resin soaks into the fresh sand and hardens it (like a mortar). Weeds cannot push through hardened sand, and ants cannot dig it up.
-
Surface Protection: It seals the porous brick, making it harder for oil stains and black spot spores to take hold.
Conclusion
You cannot win the war against weeds with water alone. If you have black spot on your patio or a jungle in your driveway, you need chemicals to kill the roots and a sealer to lock the joints.
Restore it properly once, and you won’t have to touch it again for years. Ready to seal your restored driveway?
→ Check out our Block Paving Sealer for a long-lasting, weed-resistant finish.
Share:
Deep Cleaning Polished Concrete Without Damaging the Shine