Guides and Posts
Of Products
Help Categories
Helpful Staff
Expert solutions for cracks, damp, and unstable surfaces.
Find Your Masonry Preparation Guide
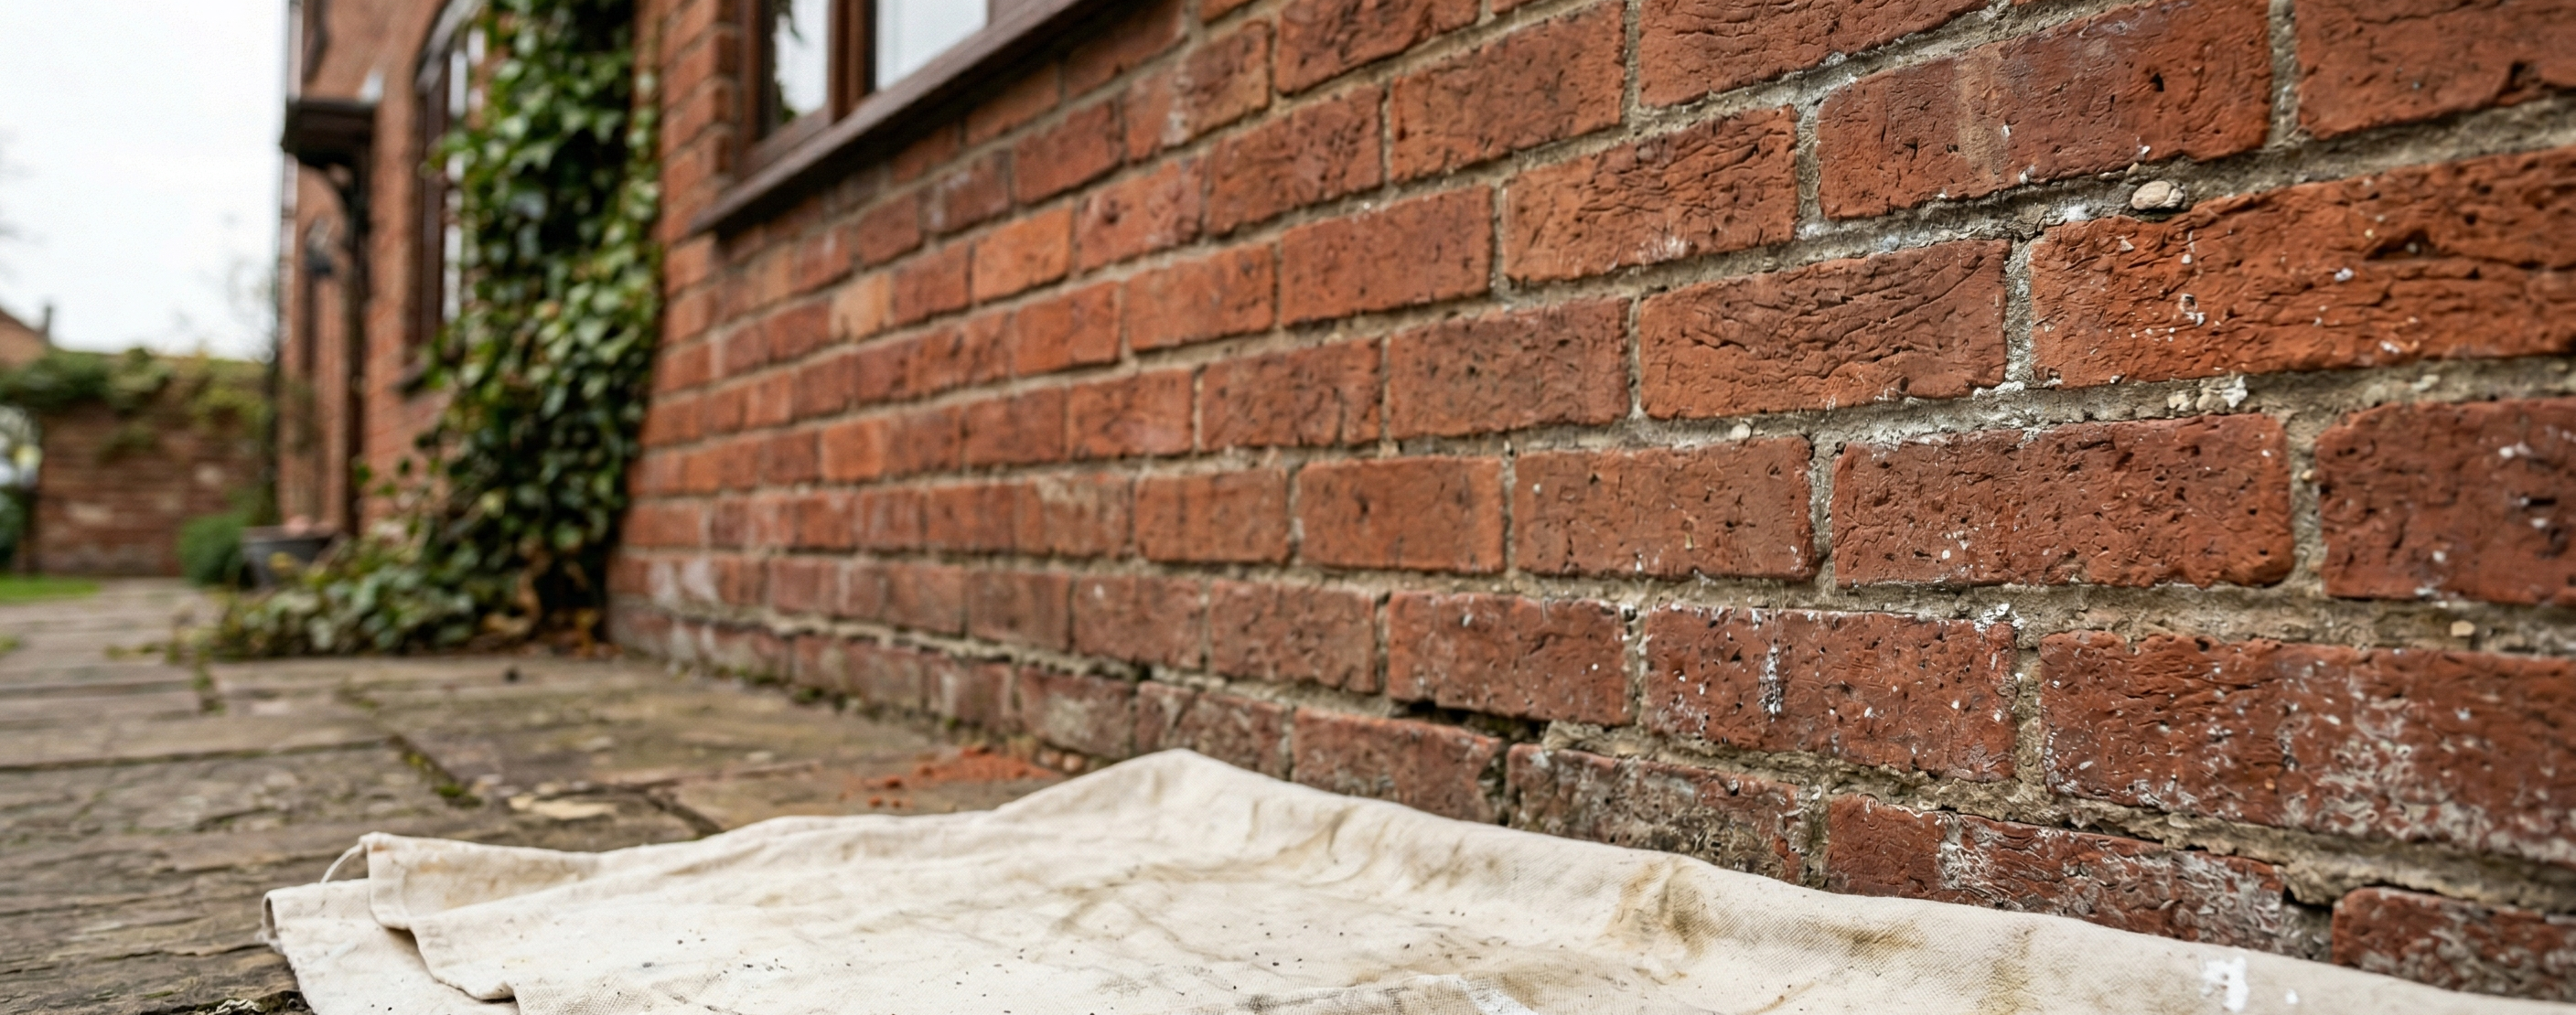
Exterior walls face the harshest conditions. Whether you are dealing with penetrating damp in brickwork, 'blown' render patches, or a chalky surface that needs stabilising, the right preparation is the difference between a 10-year finish and a failure. Search below to find the specific repair method for your building.
- 0 opmerkingen
- door Sam Marriott
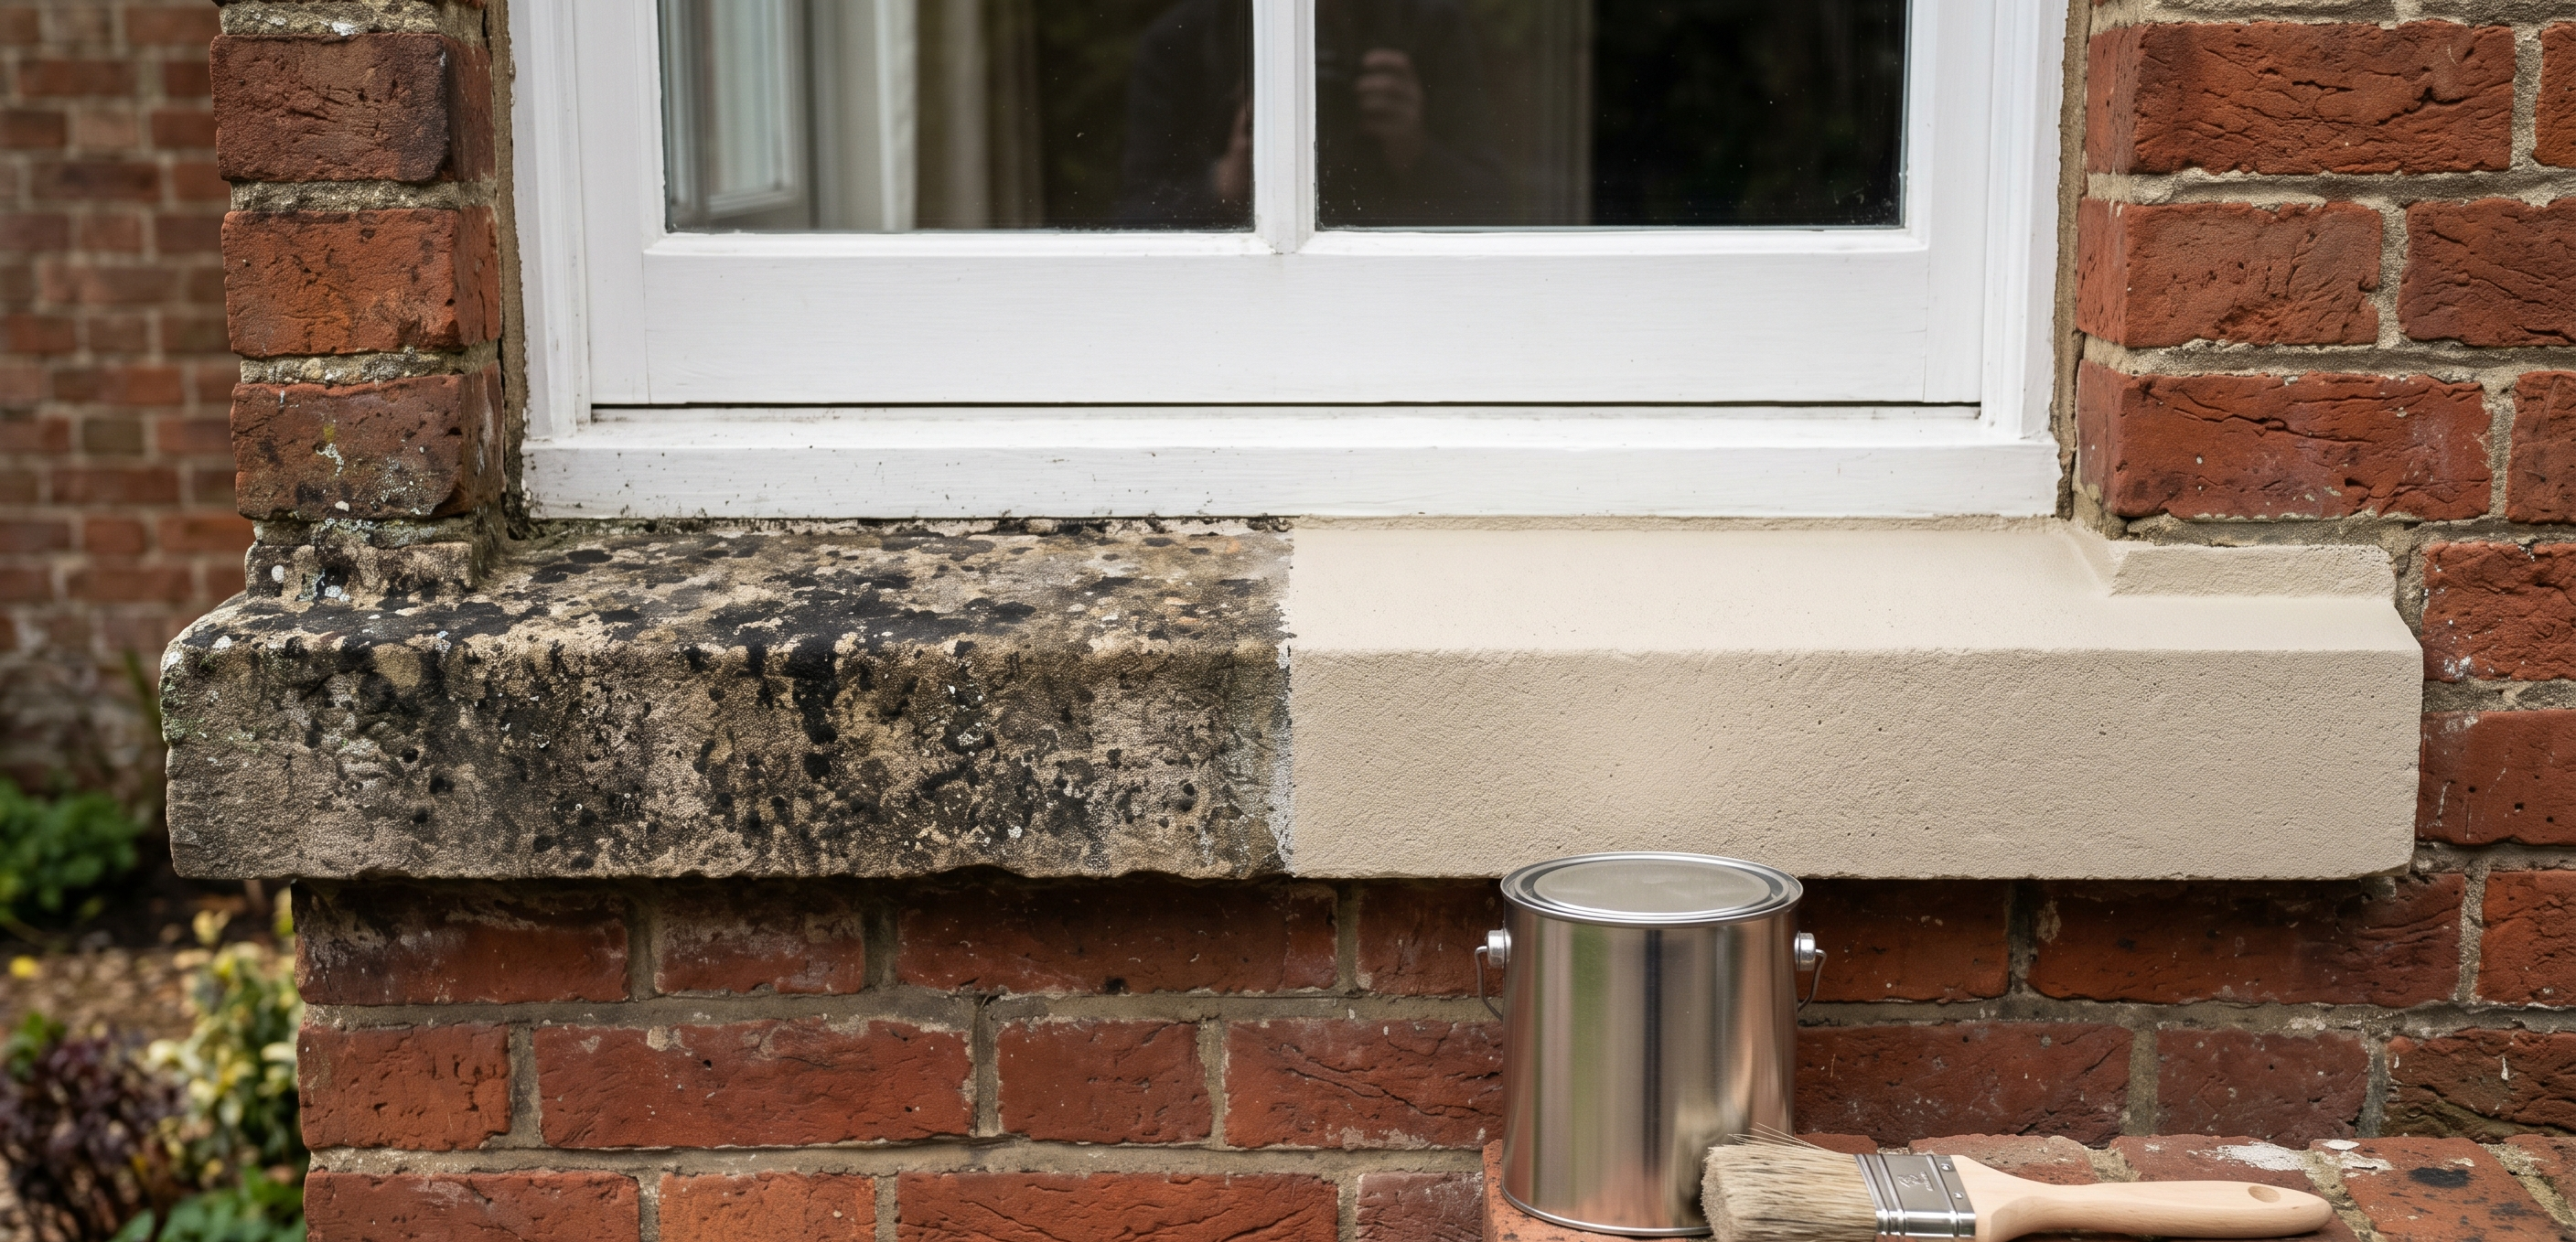
Reviving Cast Stone Headers & Sills: Cleaning & Painting Guide
- 0 opmerkingen
- door Sam Marriott
Breathable Protection: Why You Must Never Seal Damp Walls (With the Wrong Product)

- 0 opmerkingen
- door Sam Marriott
Stopping Penetrating Damp: Clear Water Repellents Explained
- 0 opmerkingen
- door Sam Marriott
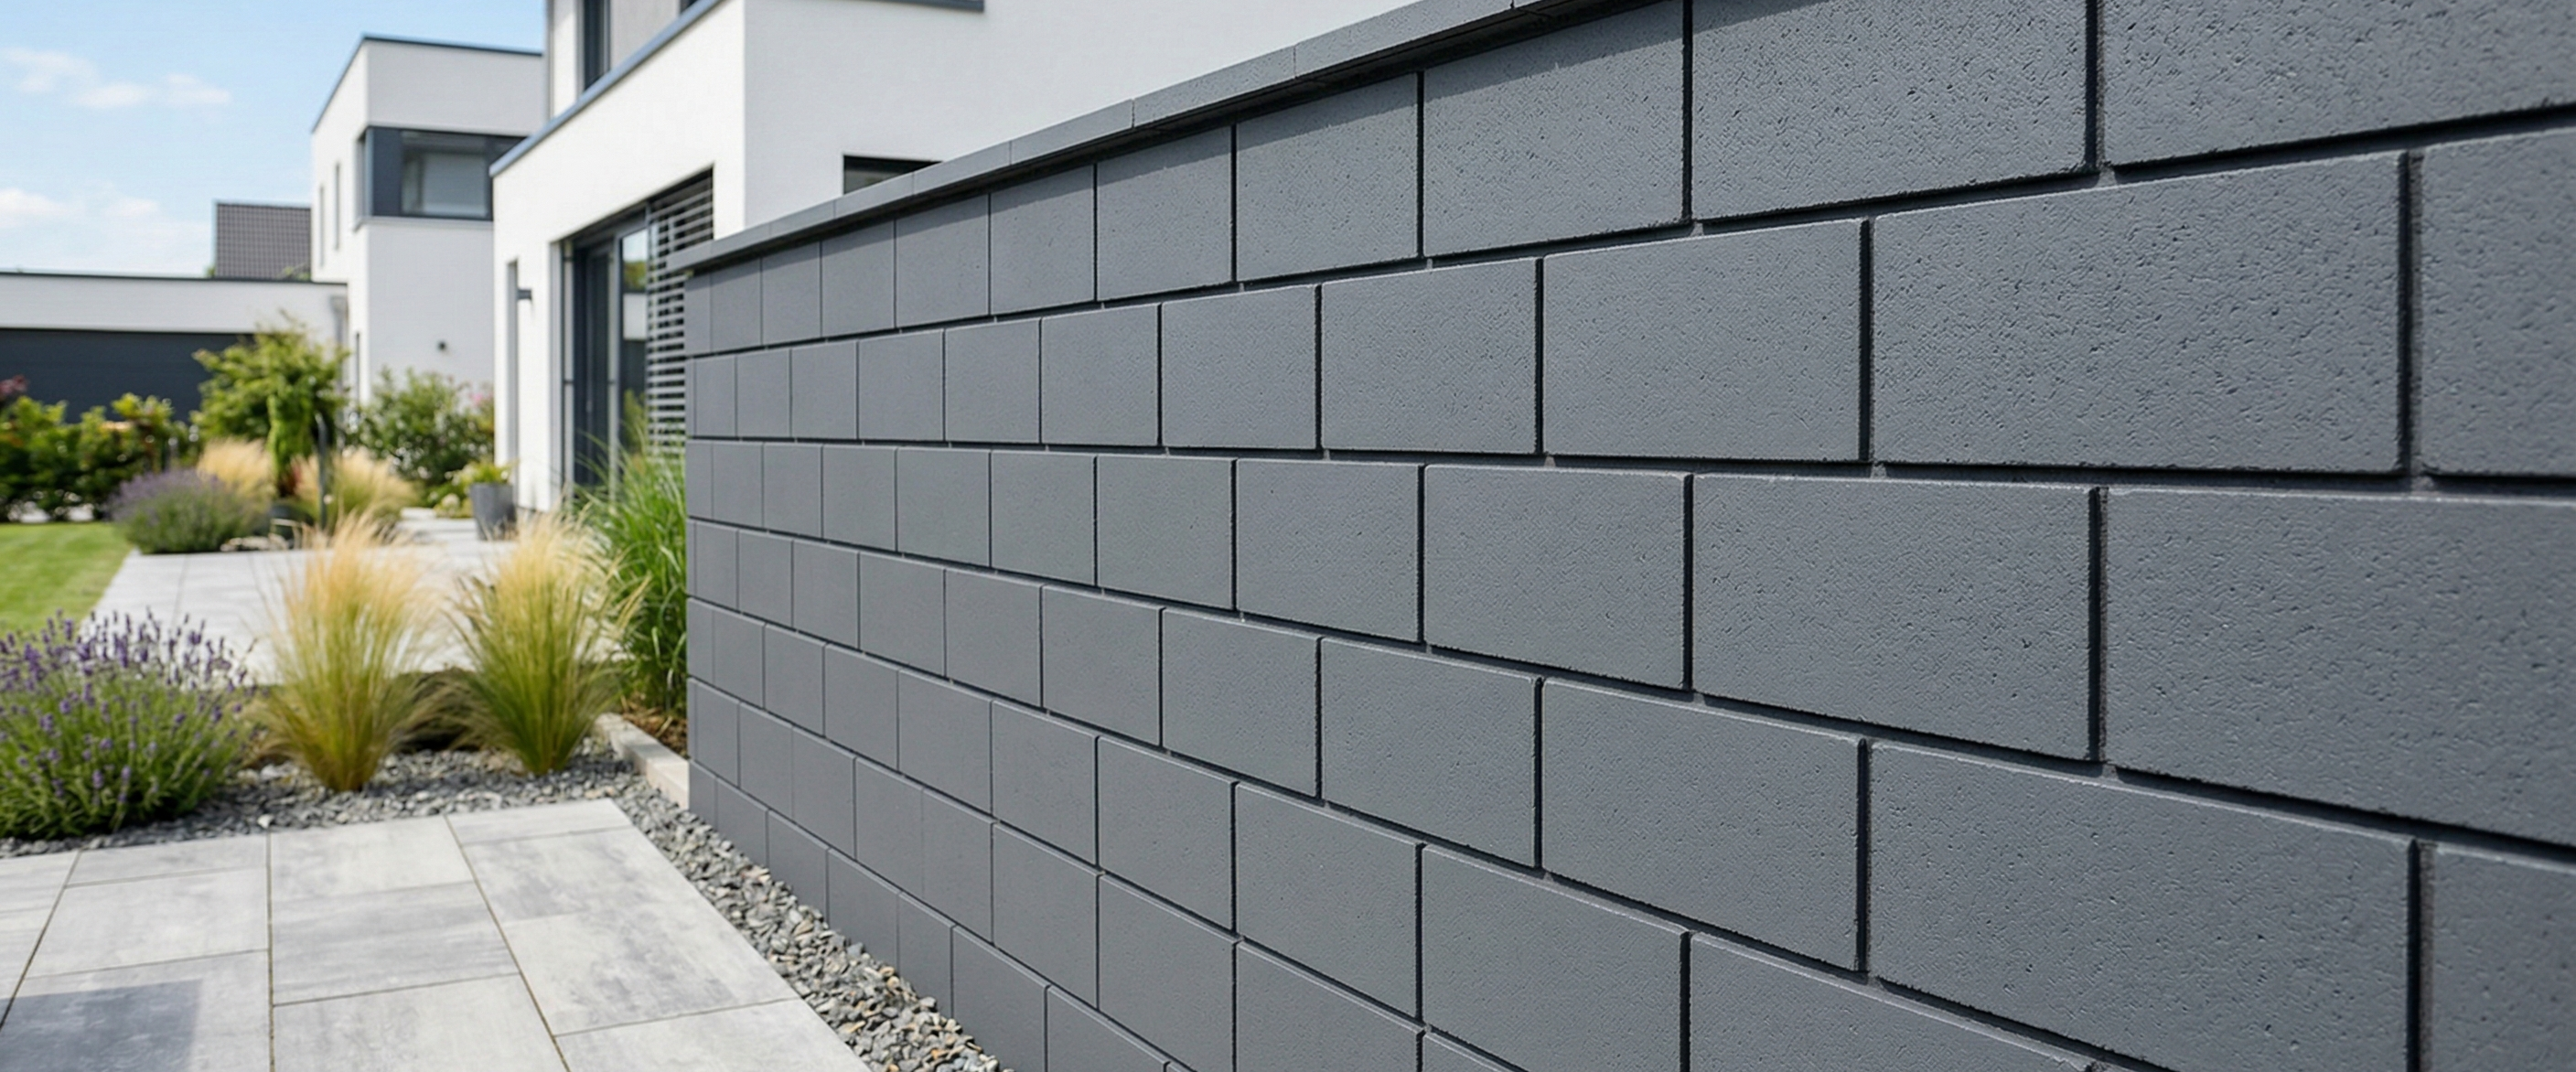
How to Properly Prime Engineering Blocks for Painting, Low-Suction Surfaces
- 0 opmerkingen
- door Sam Marriott
Safe Cleaning Methods for Fragile Render
- 0 opmerkingen
- door Sam Marriott
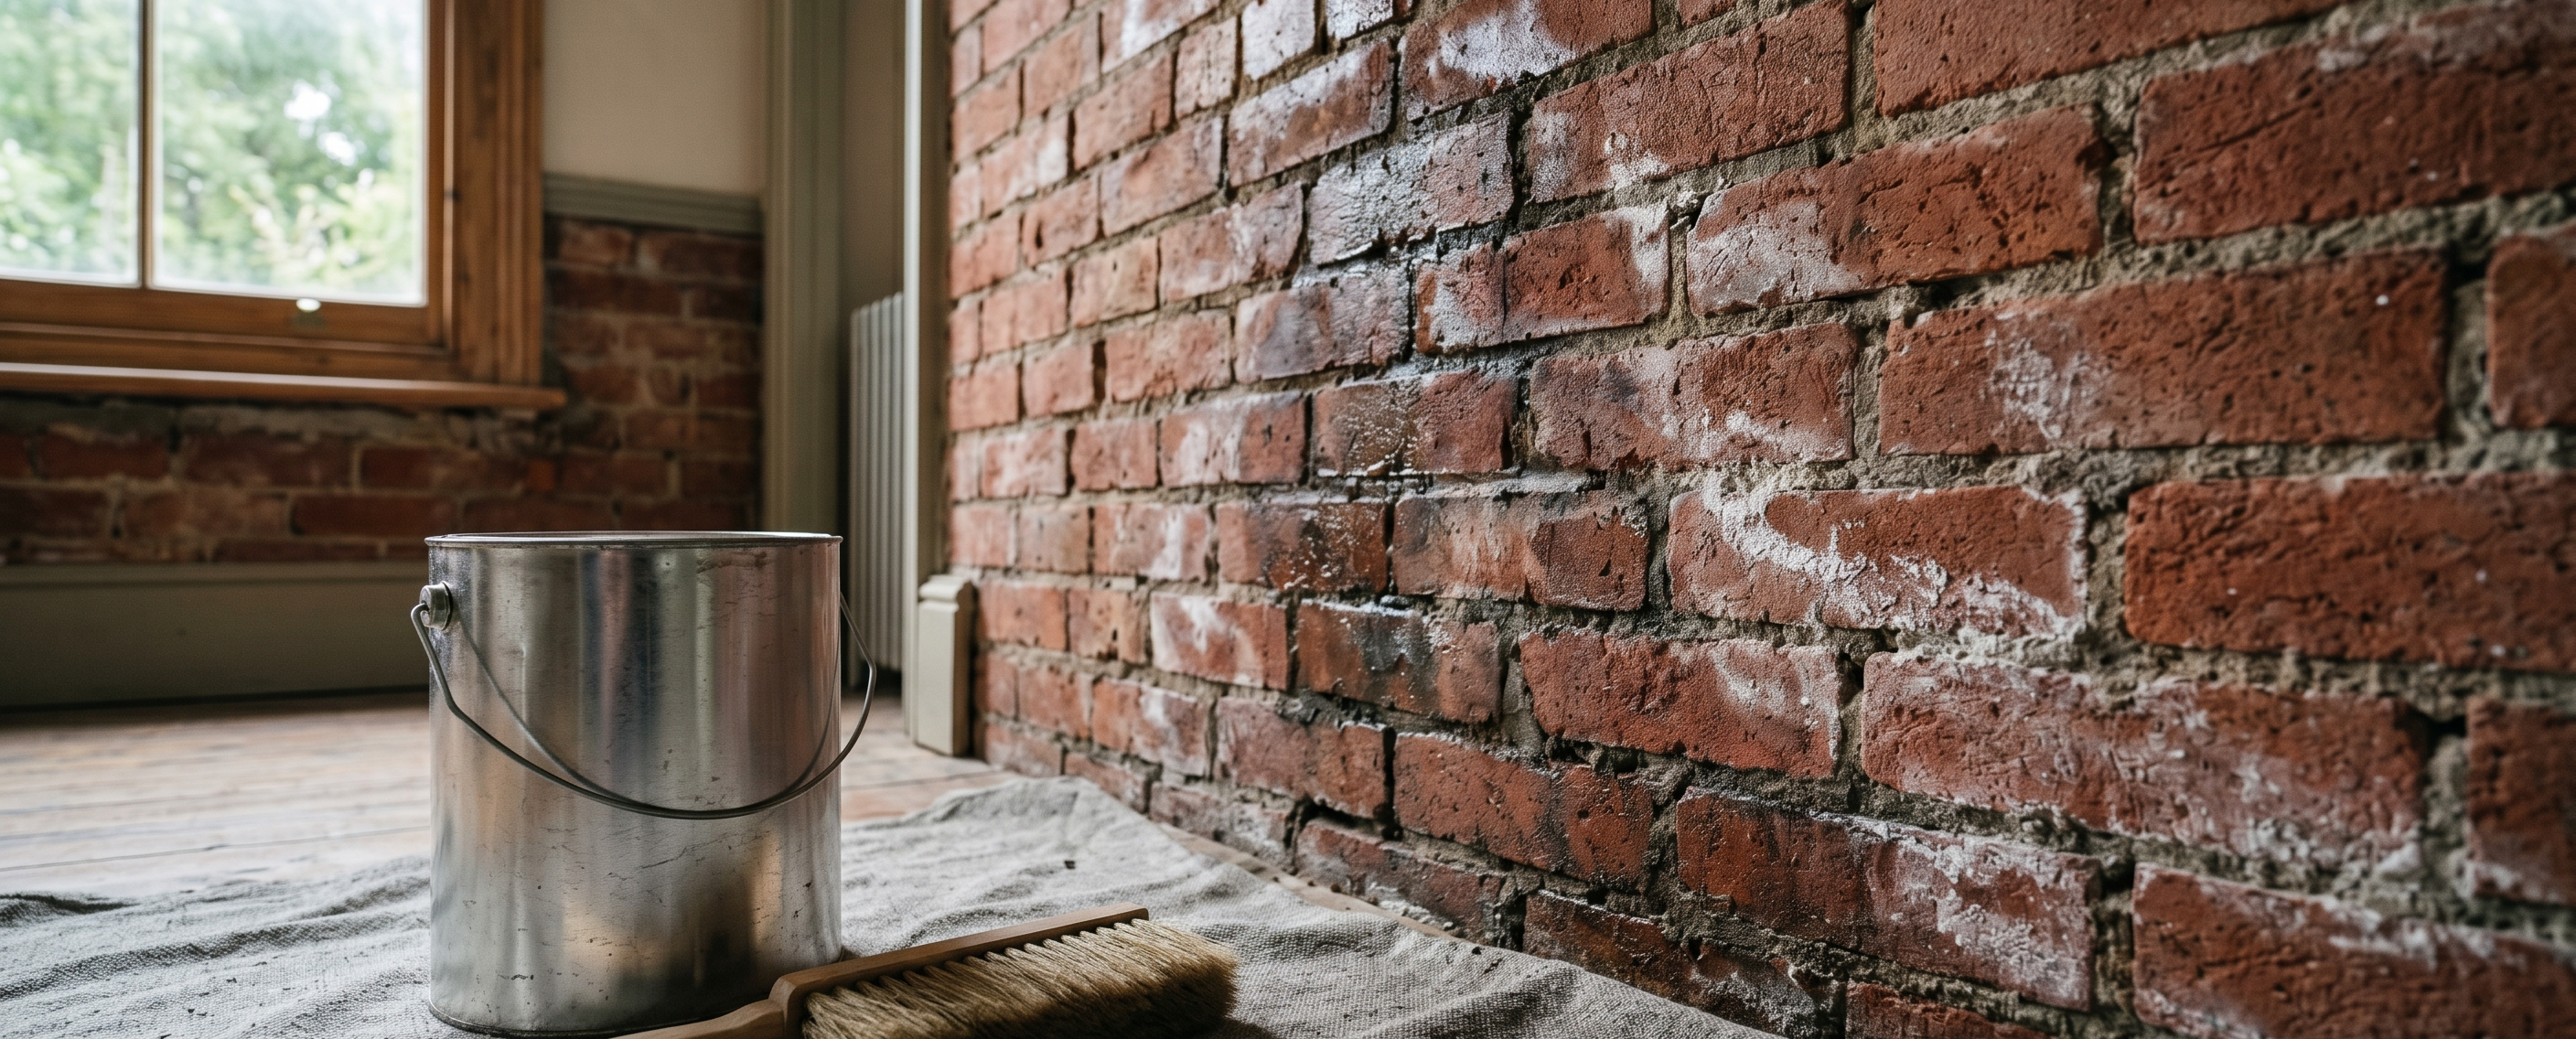
Priming Common Bricks for Adhesion
- 0 opmerkingen
- door Sam Marriott
Filling Deep Defects: Mortar Repair vs. Exterior Polyfilla
- 0 opmerkingen
- door Sam Marriott
Repairing Blown Render: Patching Holes Before You Paint
- 0 opmerkingen
- door Sam Marriott
Priming Porous Render: How to Stop Suction & Patchy Paint
- 0 opmerkingen
- door Sam Marriott
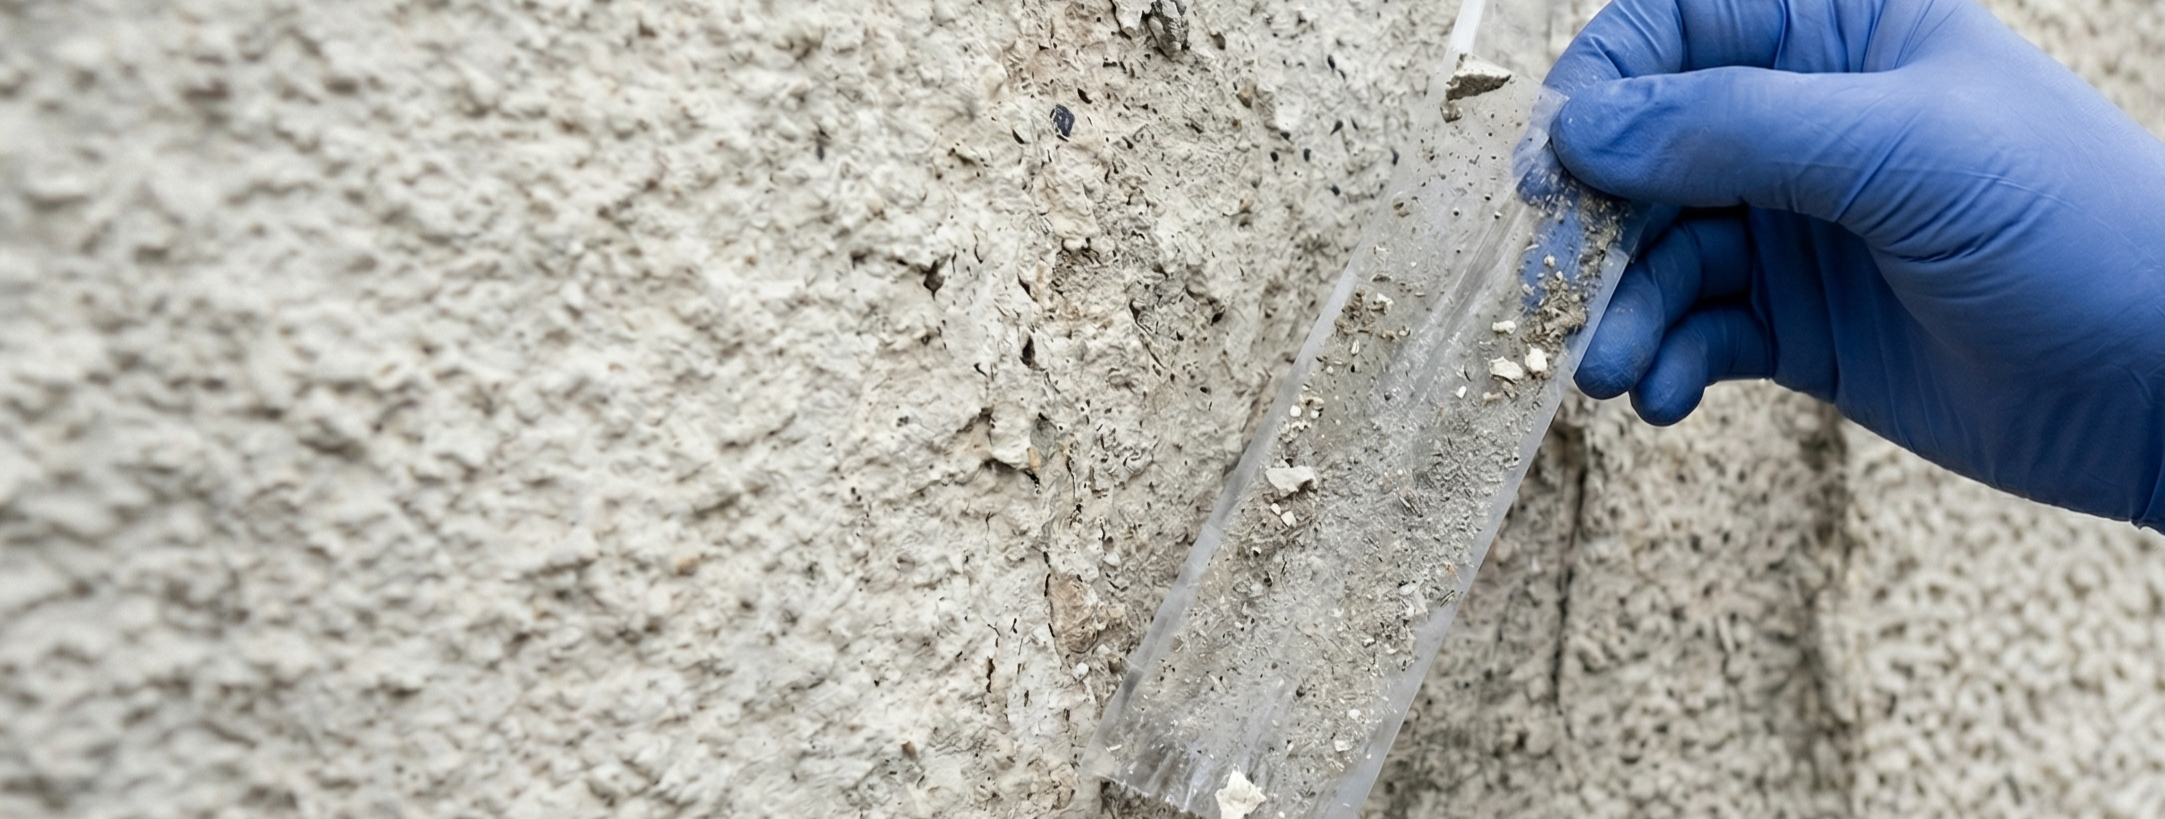
The Tape Test: Diagnosing Unstable Masonry Before Painting
- 0 opmerkingen
- door Sam Marriott
Stabilising Primers: How to Fix Chalky and Dusty Masonry
- 0 opmerkingen
- door Sam Marriott
Treating Hairline Cracks: Why You Need Flexible Exterior Fillers for Damaged Masonry
- 0 opmerkingen
- door Sam Marriott
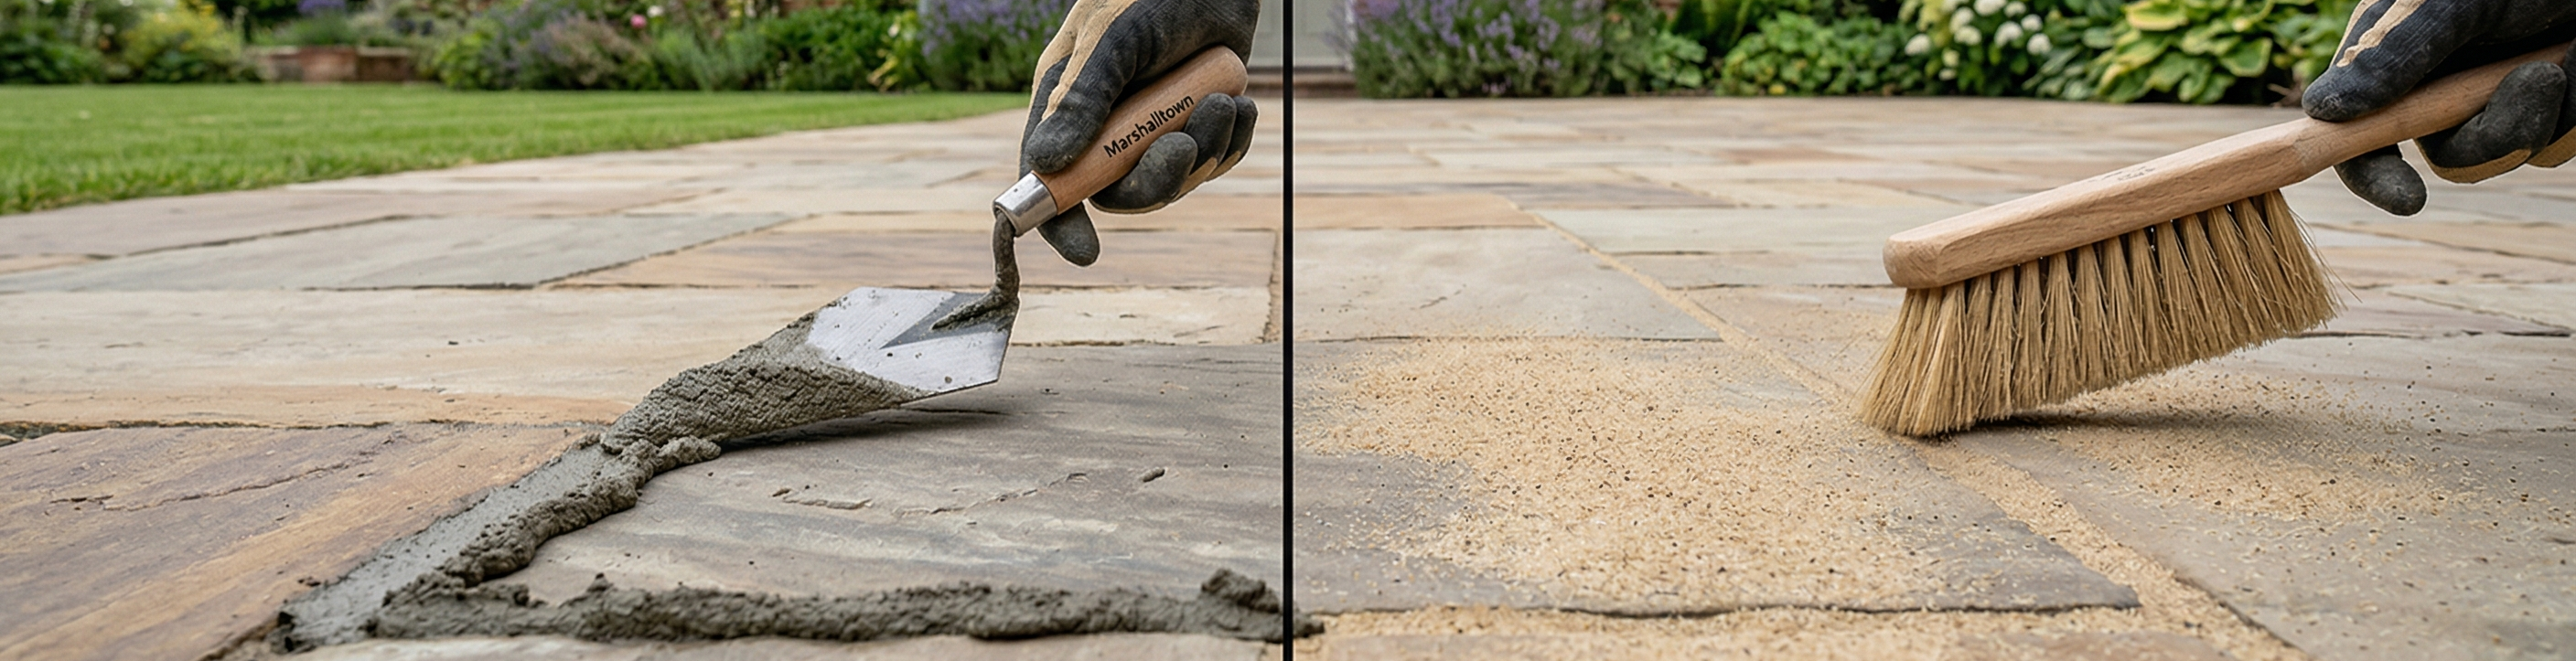
Repointing Patio Joints: Mortar vs. Brush-In Compounds
No guides found matching your search.
Try a different keyword.
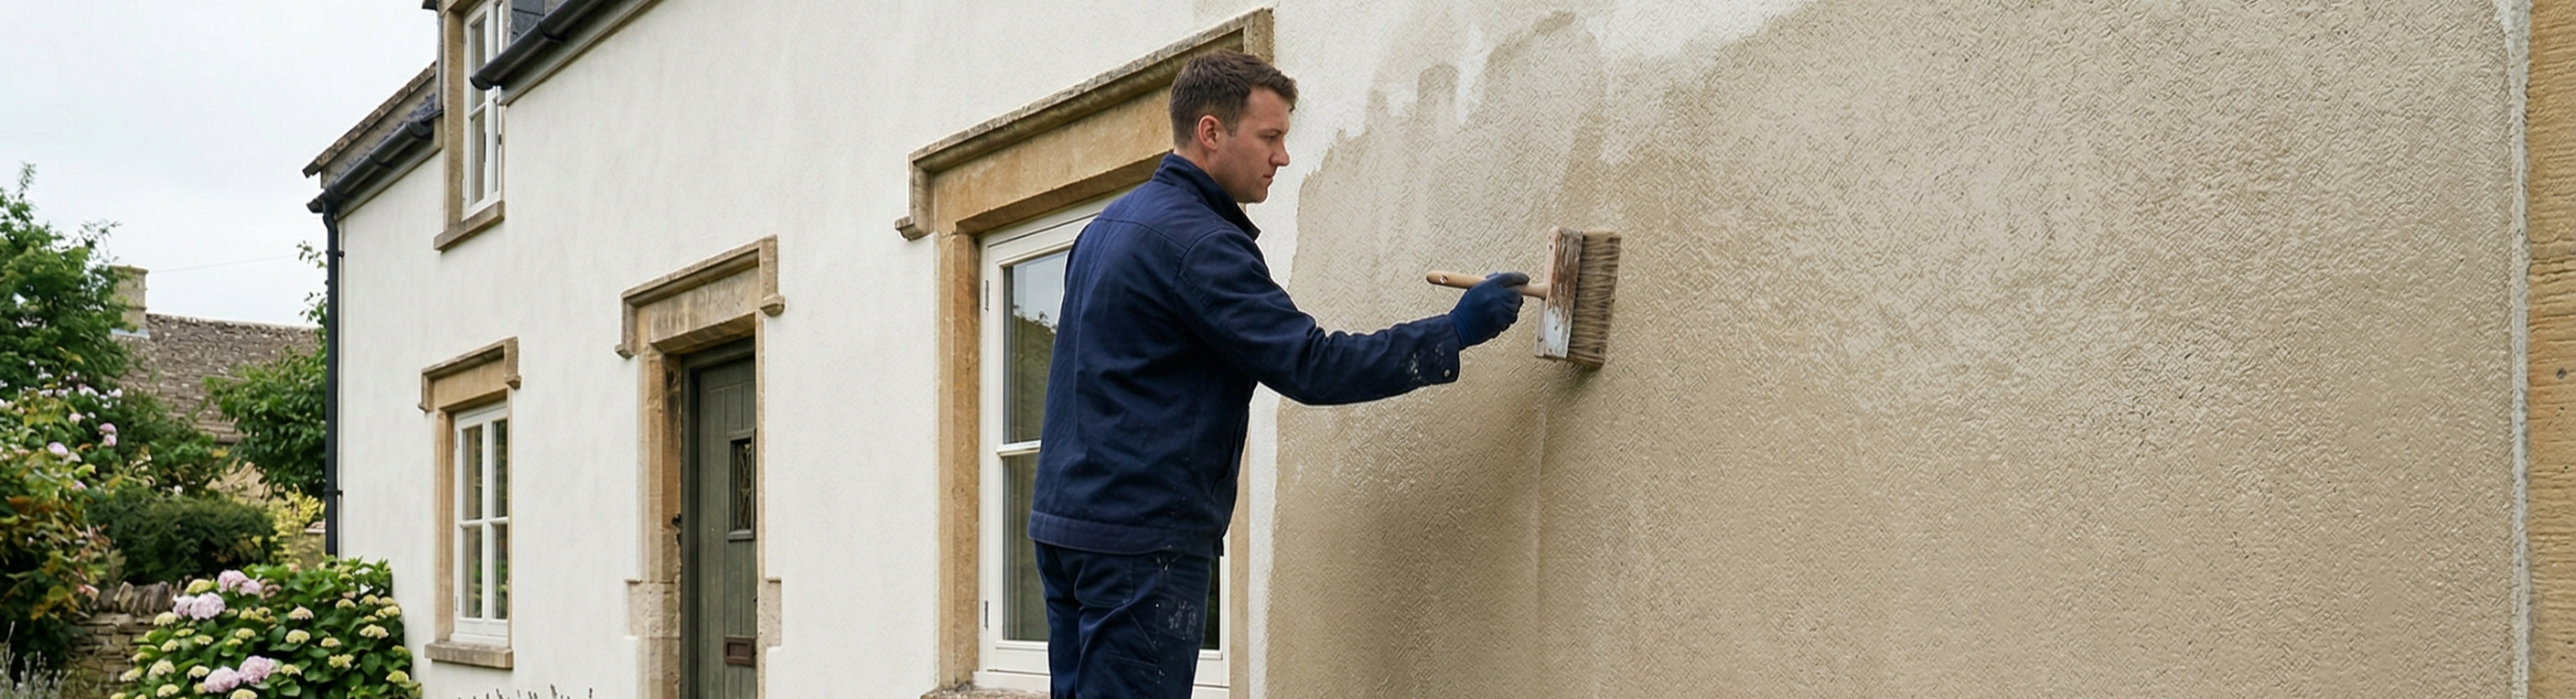
Fixing Chalky, Dusty & Friable Walls
Stabilising & Priming
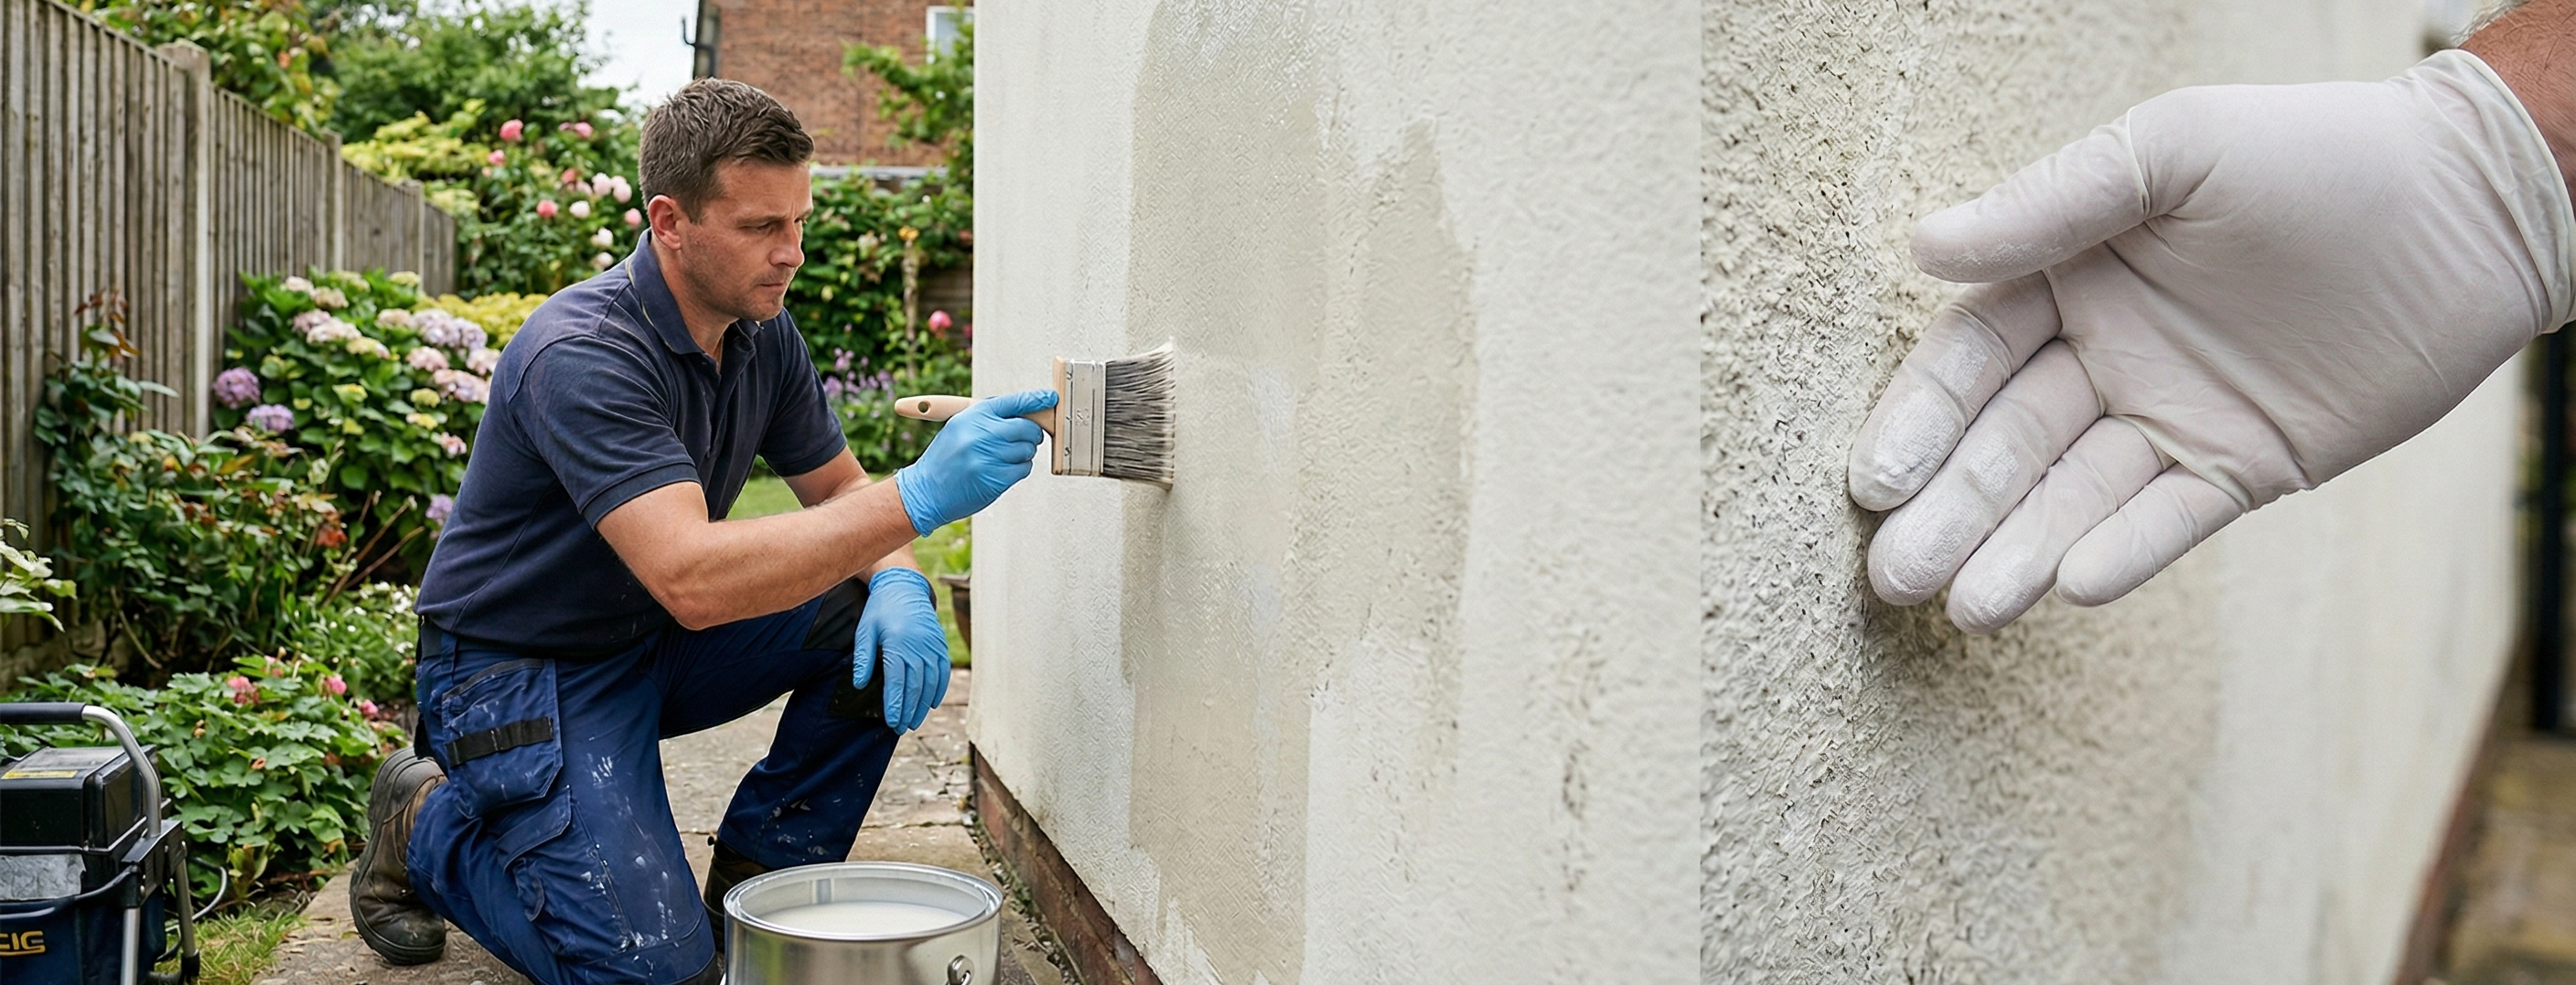
The #1 cause of masonry paint failure is applying it to a "dusty" surface. This section covers Stabilising Solutions—the deep-penetrating primers that bind loose render and chalky paint to create a solid base for the topcoat.
- 0 opmerkingen
- door Sam Marriott
Priming Porous Render: How to Stop Suction & Patchy Paint
- 0 opmerkingen
- door Sam Marriott
The Tape Test: Diagnosing Unstable Masonry Before Painting
- 0 opmerkingen
- door Sam Marriott
Stabilising Primers: How to Fix Chalky and Dusty Masonry
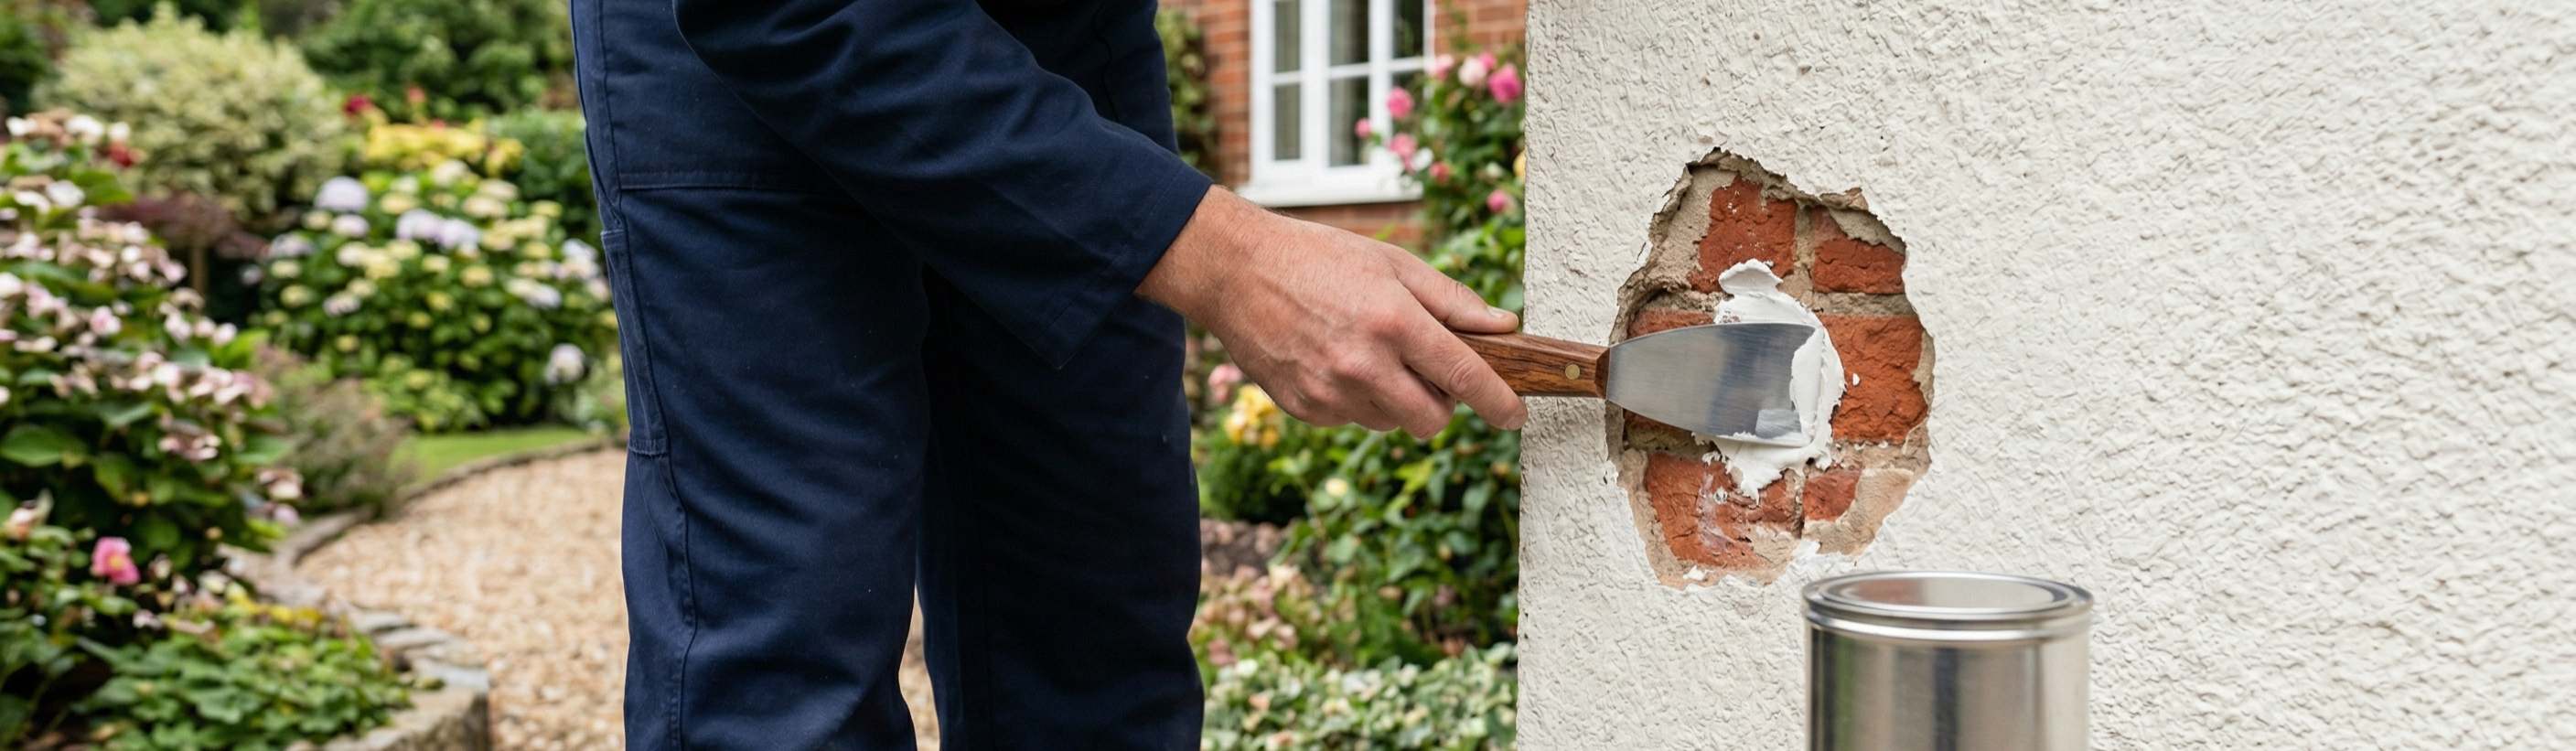
Filling Cracks, Holes & Blown Render
Masonry Repairs
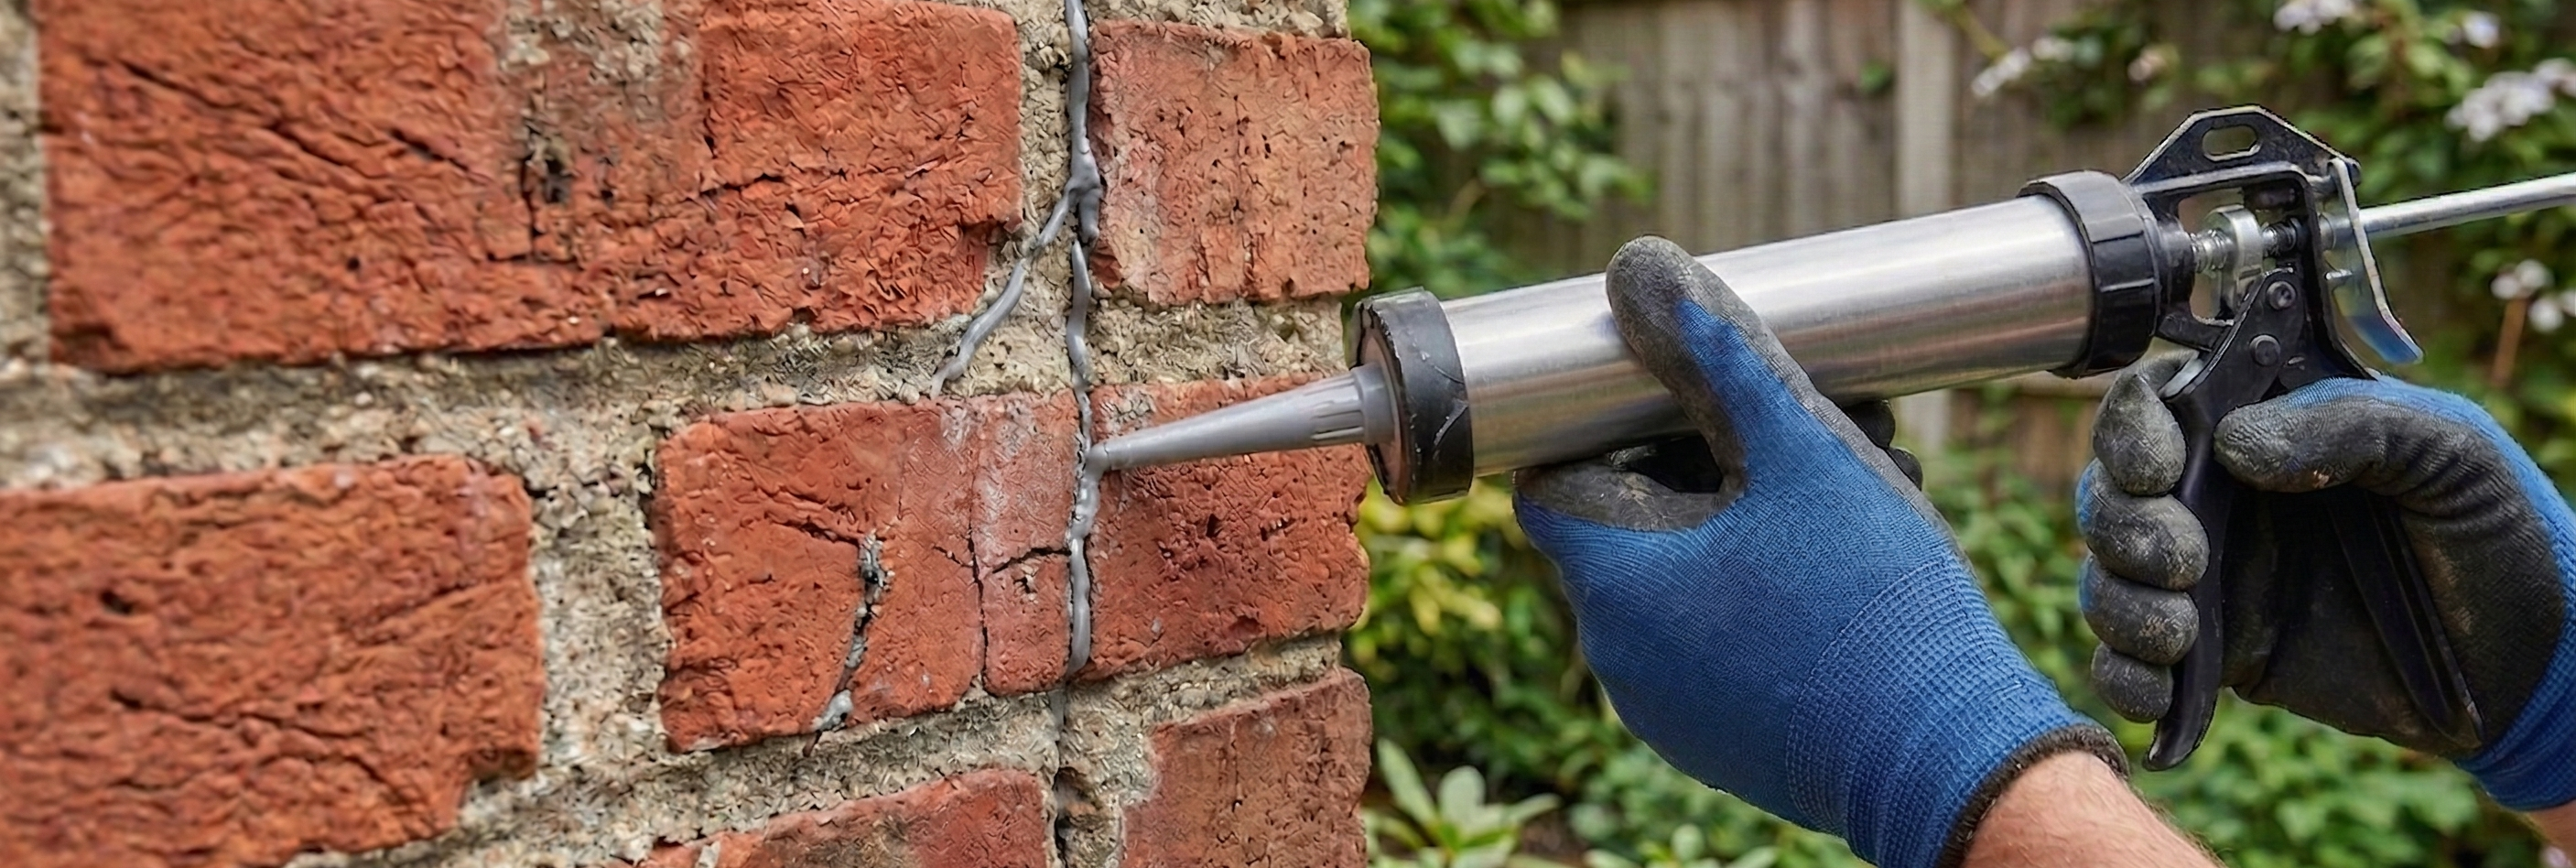
Never paint over a crack. This section guides you through opening up hairline cracks (the V-Cut method), choosing the right flexible exterior fillers, and patching "blown" or hollow render before you pick up a brush.
- 0 opmerkingen
- door Sam Marriott
Filling Deep Defects: Mortar Repair vs. Exterior Polyfilla
- 0 opmerkingen
- door Sam Marriott
Repairing Blown Render: Patching Holes Before You Paint
- 0 opmerkingen
- door Sam Marriott
Treating Hairline Cracks: Why You Need Flexible Exterior Fillers for Damaged Masonry
Clear Sealers & Water Repellents
Waterproofing & Damp Preparation
Not everyone wants a coloured paint. Learn how to use Silane/Siloxane impregnators to waterproof brick and stone without changing their appearance. Essential prep for preventing penetrating damp.
- 0 opmerkingen
- door Sam Marriott
Breathable Protection: Why You Must Never Seal Damp Walls (With the Wrong Product)
- 0 opmerkingen
- door Sam Marriott
Stopping Penetrating Damp: Clear Water Repellents Explained
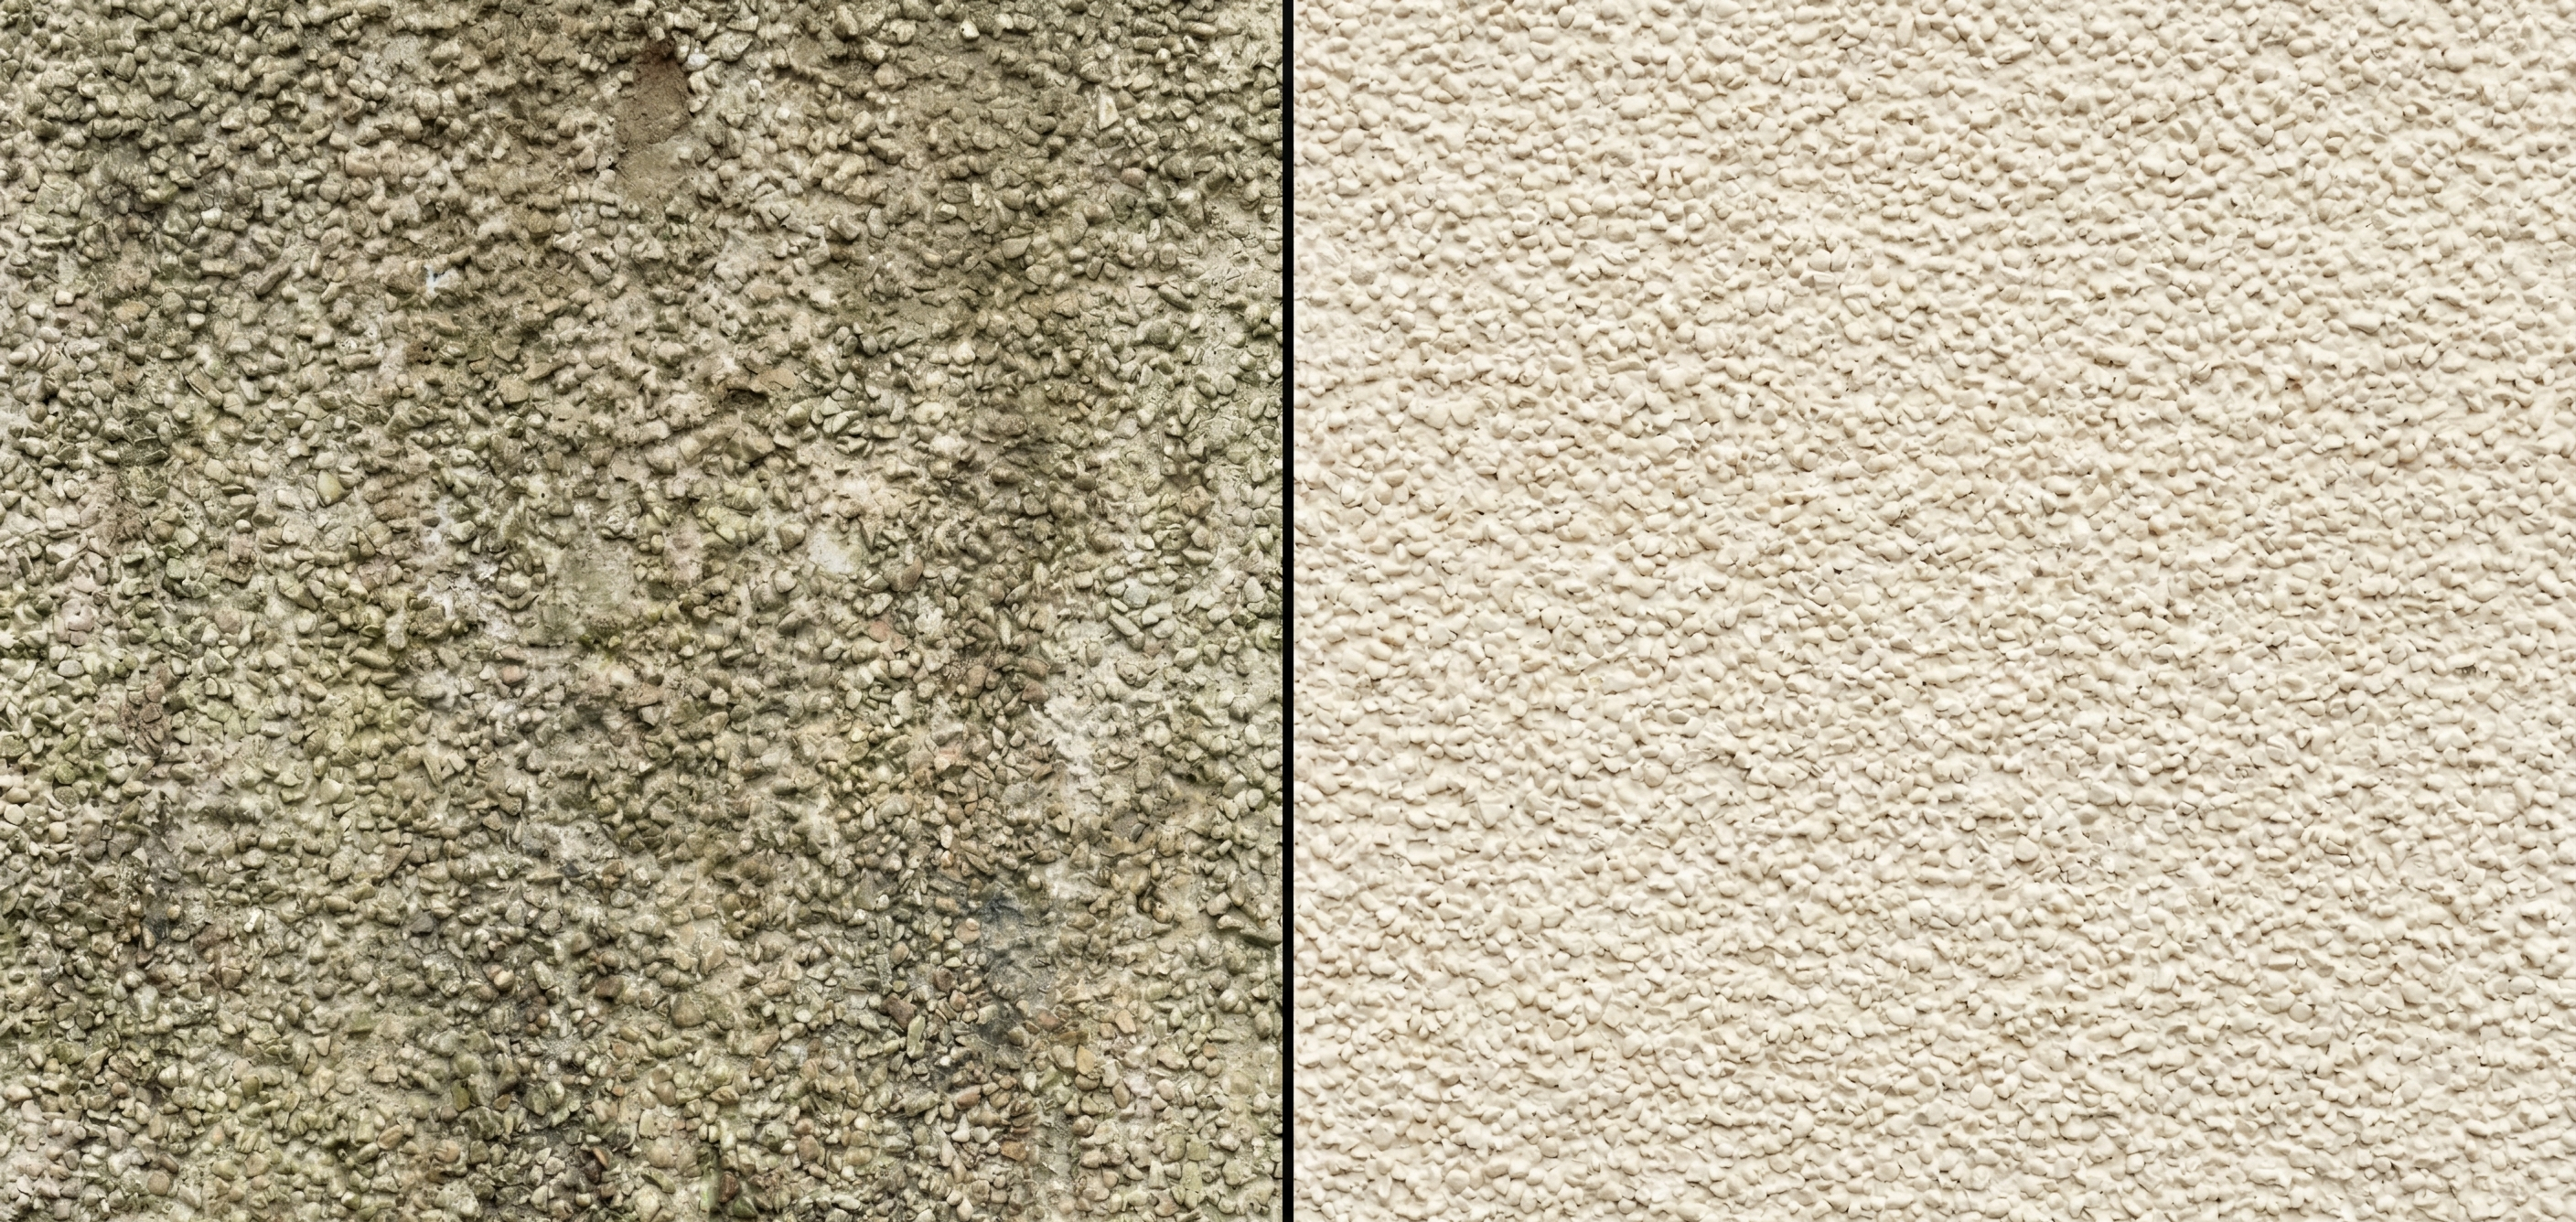
Pebbledash, Tyrolean & Roughcast
Substrate Specific Preparation
Painting smooth render is easy; painting jagged pebbledash is a challenge. This section covers "Bagging" (slurry coating) to smooth out walls, and specific prep techniques for heavily textured surfaces.
- 0 opmerkingen
- door Sam Marriott
Reviving Cast Stone Headers & Sills: Cleaning & Painting Guide
- 0 opmerkingen
- door Sam Marriott
How to Properly Prime Engineering Blocks for Painting, Low-Suction Surfaces
- 0 opmerkingen
- door Sam Marriott
Safe Cleaning Methods for Fragile Render
- 0 opmerkingen
- door Sam Marriott
Priming Common Bricks for Adhesion
Expert answers on stabilising, repairing, and waterproofing exterior walls.
Masonry Preparation FAQs
Stabilising (Chalky & Dusty Walls)
The number one reason masonry paint peels is a "friable" surface. As old paint ages, the binder breaks down, leaving a powdery residue. If you paint directly over this chalky layer, the new paint sticks to the dust, not the wall, and will eventually fall off.
How do I know if my wall needs a Stabilising Primer?
Perform the "Thumb Test." Rub your palm or thumb firmly across the existing painted surface. If your hand comes away white or powdery, the surface is "chalking." You must wash it down and apply a Stabilising Solution to bind the loose particles before painting.
Should I use Water-Based or Solvent-Based Stabiliser?
This depends on the severity of the problem.
- Solvent-Based (High Performance): Required for very chalky, old, or highly porous surfaces. The solvent particles are smaller and penetrate deeper to lock the surface together.
- Water-Based (Eco-Friendly): Suitable for slightly dusty surfaces or newer render that just needs a light seal.
Can I just dilute my masonry paint instead of buying a primer?
On bare, sound render, a "mist coat" (diluted paint) is often fine. However, on chalky or flaking surfaces, diluted paint is not enough. You need the specific binding resins found in a Stabilising Solution to glue the surface back together.
Repairs (Cracks & Blown Render)
Exterior walls move with thermal expansion and contraction. Rigid fillers (like standard cement) often crack and fall out because they cannot handle this movement. Successful masonry repair requires flexible materials that move with the building.
Can I just paint over hairline cracks?
No. Paint is a thin coating, not a filler. Even if the paint bridges the crack initially, it will snap open as soon as the weather changes. You should fill hairline cracks with a flexible exterior acrylic filler or use a "High Build" reinforced coating designed to bridge small fissures.
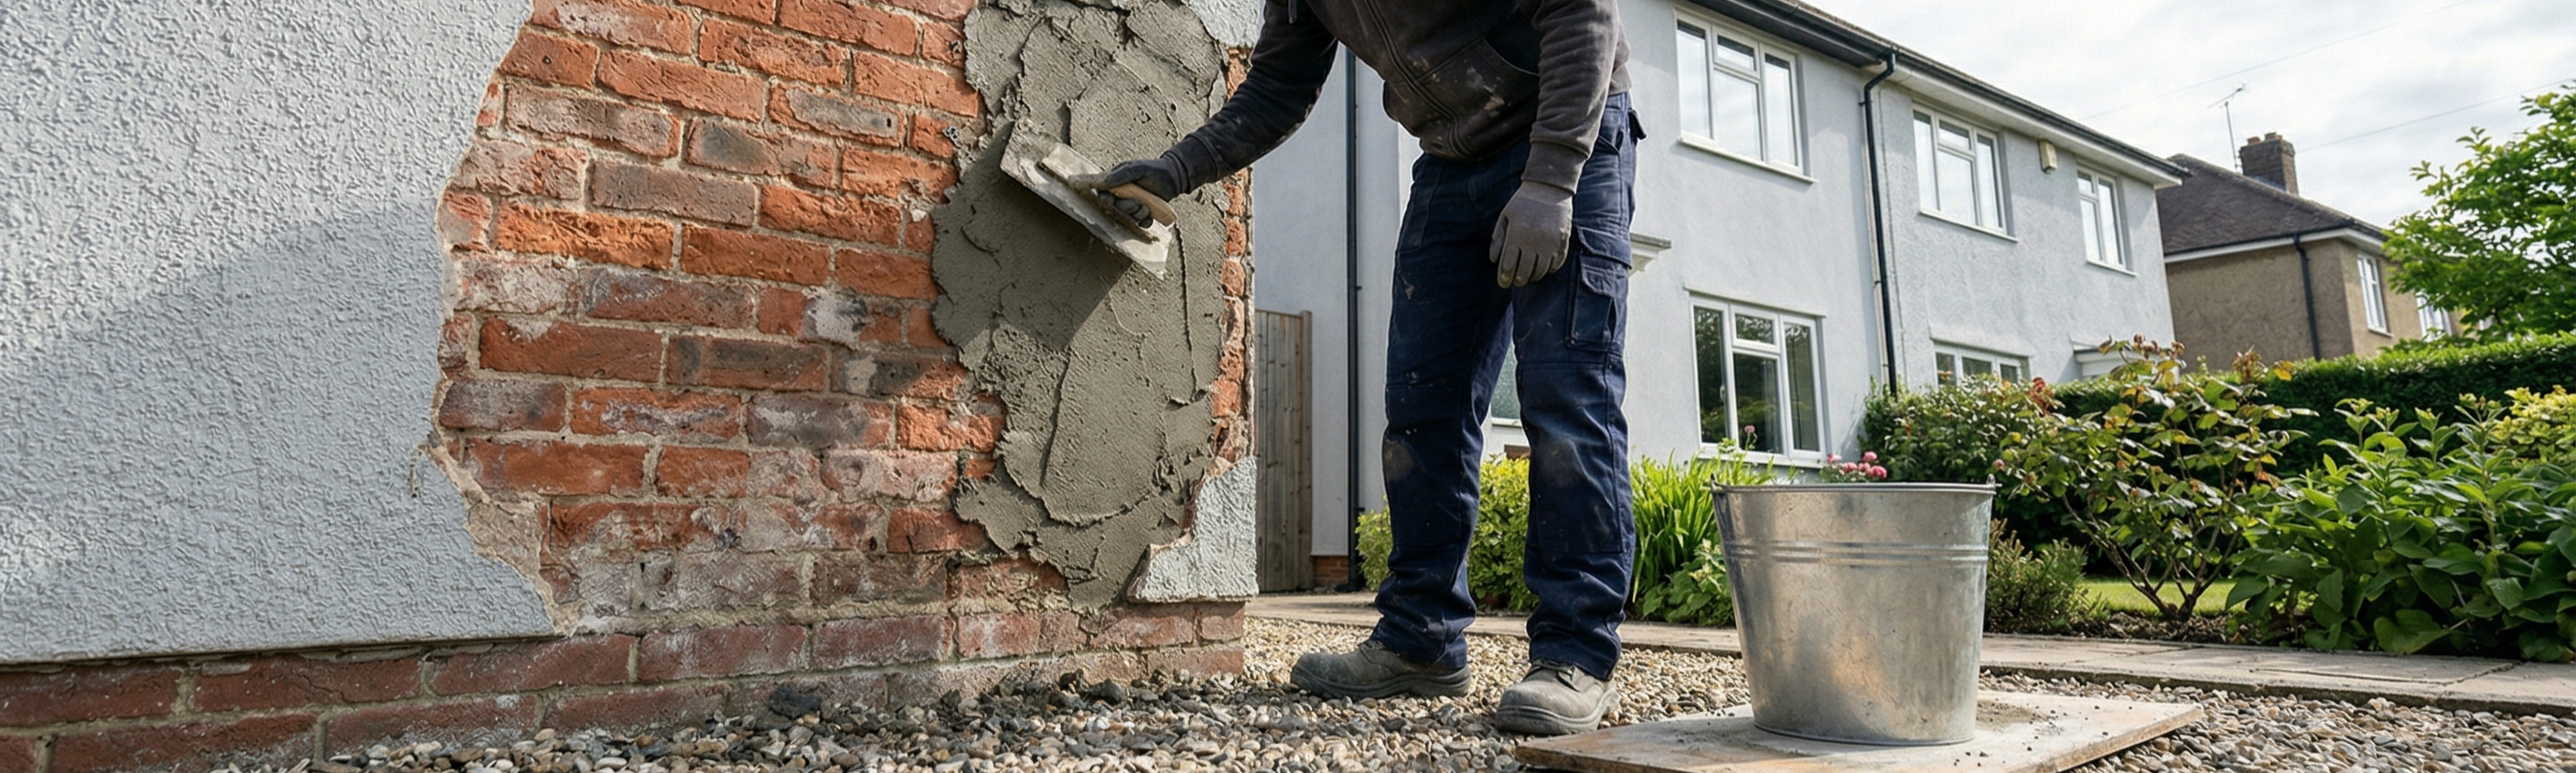
What is "Blown" render and how do I find it?
"Blown" render means the render has detached from the brickwork behind it, leaving a hollow air pocket. You can find it by tapping the wall with a hammer handle; it will sound hollow compared to the solid "thud" of good render. These areas must be hacked off and patched, or they will eventually fall off.
Should I use silicone sealant for cracks?
Never use standard silicone sealant on areas you intend to paint. Paint will not stick to silicone (it repels it), leaving you with an ugly unpainted stripe. Always use a "Paintable" external filler or polyurethane sealant.
Waterproofing & Damp
Penetrating damp occurs when rain soaks through the pores of the brick or stone. Clear water repellents (impregnators) are the best way to stop this without changing the look of your home.
Will a Water Seal change the colour of my brickwork?
A high-quality Silane/Siloxane impregnator should dry clear and invisible (matte). It soaks into the brick rather than sitting on top like a varnish. However, cheaper "varnish-style" sealers can leave a "wet look" or sheen, so always check the label or do a patch test.
Can I paint over a Water Repellent later?
Generally, no. Water repellents are designed to repel liquids—including liquid paint. If you seal your wall now, you may not be able to paint it for 5-10 years until the sealer wears off. Decide if you want a natural look (Clear Sealer) or a coloured look (Masonry Paint) before you start.
What is the difference between Rising Damp and Penetrating Damp?
Rising Damp comes from the ground up (usually stopping at 1 meter high) due to a failed damp proof course. Penetrating Damp can happen anywhere on the wall (even high up) and is caused by rain soaking through porous brick or cracks. Our sealers are designed to stop Penetrating Damp.

The Help & Technical Hub
Our coatings are backed by more than just performance — they’re supported by clear documentation, practical guides, and real technical support.
The Help & Technical Hub brings together preparation guides, application advice, FAQs, SDS & TDS downloads, and system recommendations to help you choose, apply, and maintain the right coating with confidence.